Folder Structure:
- First we will create a main folder for our project
- Then inside it we will create 4 files one html one css and 2 js files
- One js file from 2 files will store a object for language and language code
- At last we will add all other files with main html files

Introduction:
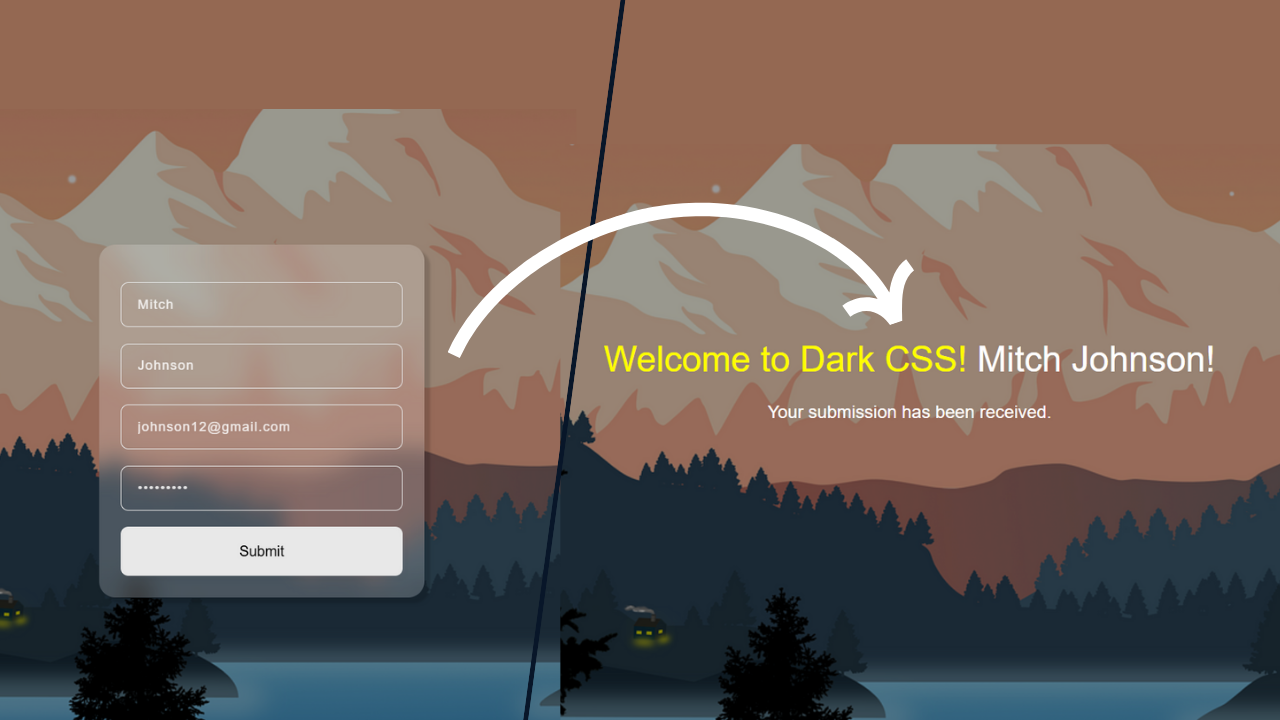
In this tutorial, we’ll create a simple language translator app using HTML, CSS, and JavaScript.
This app allows users to enter text in one language and translate it into another. We’ll use the MyMemory Translation API to handle the translation functionality. The interface includes two textareas — one for input and one for displaying the translated text. Users can select the source and target languages from dropdown menus. We’ll dynamically populate these dropdowns using a JavaScript object of country codes. A single translate button will trigger the API call and show the translation. We’ll also make the translated box read-only to prevent editing. By the end, you’ll understand how to integrate an external API into a real-world JS project.
For full tutorial visit our youtube channel Dark CSS
Note: “My memory api is free and may have some translation error and can’t provide a 100% accurate output“. Read more
HTML Code:
...

<!DOCTYPE html>
<html lang="en">

<head>
    <meta charset="UTF-8">
    <meta name="viewport" content="width=device-width, initial-scale=1.0">
    <title>Simple Translator | JavaScript</title>
    <link rel="stylesheet" href="style.css">
</head>

<body>
    <div class="coontainer">
        <div class="wrapper">
            <div class="input_box">
                <textarea placeholder="Enter Text" class="from_text"></textarea>
                <textarea placeholder="Translation.." class="to_text" readonly disabled></textarea>
            </div>
            <div class="row">
                <div class="select">
                    <select name="from">

                    </select>
                </div>

                <div class="select">
                    <select name="to">

                    </select>
                </div>
            </div>

            <button>Translate</button>
        </div>
    </div>

    <script src="country.js"></script>
    <script src="app.js"></script>
</body>

</html>

...
Explanation:
we create a main container <div class="container"> which wraps the entire app interface. Inside this container, a <div class="wrapper"> is used to organize the layout.
The user interface is divided into multiple sections. First, we have an <div class="input_box"> that holds two <textarea> elements. The first one (.from_text) is for the user to enter the text they want to translate, and the second one (.to_text) is a read-only and disabled field that displays the translated output.
Below the textareas, there is a <div class="row"> which contains two language selection dropdowns.
Each dropdown is wrapped inside a <div class="select">, and the <select> elements allow users to choose the source and target languages for translation. The name attributes (from and to) help identify which language is selected from each dropdown. After the selection options, a <button> is placed below, which users click to trigger the translation process.
At the end of the body, two script files are linked. The first script (country.js) contains a list of supported language codes and their names, which are dynamically used to populate the dropdowns.
The second script (app.js) handles the core logic, including event handling, API requests to fetch the translation, and updating the output.
CSS Code:
....

@import url('https://fonts.googleapis.com/css2?family=Poppins:ital,wght@0,100;0,200;0,300;0,400;0,500;0,600;0,700;0,800;0,900;1,100;1,200;1,300;1,400;1,500;1,600;1,700;1,800;1,900&display=swap');

* {
    padding: 0;
    margin: 0;
    box-sizing: border-box;
    font-family: "Poppins", serif;
}

body {
    display: flex;
    justify-content: center;
    align-items: center;
    min-height: 100vh;
    background: rgb(158, 13, 255);
}

.coontainer {
    width: 600px;
    padding: 20px;
    background: #e8e8e8;
    box-shadow: 0px 4px 10px rgba(0, 0, 0, 0.115);
    border-radius: 7px;
}

.input_box {
    display: flex;
    border: 1px solid #acacac;
}

.input_box textarea {
    width: 100%;
}

textarea {
    border: 0;
    outline: none;
    padding: 10px;
    height: 150px;
    background: inherit;
    resize: none;
    margin: 10px 0px;
}

textarea:nth-child(1) {
    border-right: 1px solid #acacac;
}

.row {
    display: flex;
    width: 100%;
    border: 1px solid #acacac;
    border-top: none;
}

.row .select {
    width: 100%;
    display: flex;
    justify-content: center;
    align-items: center;
    margin: 5px 20px;
}

.select select {
    border: 0;
    outline: none;
    padding: 3px;
    border-radius: 3px;
    border: 1px solid #acacac;
    background: inherit;
    width: 100%;
}

button {
    border: 0;
    outline: none;
    width: 100%;
    text-align: center;
    background: rgb(158, 13, 255);
    cursor: pointer;
    padding: 12px 0px;
    margin-top: 10px;
    color: #fff;
    border-radius: 5px;
    transition: background .3s ease;
}

button:hover {
    background: rgb(137, 0, 229);
}

....
Explanation:
The CSS begins with importing the Poppins font from Google Fonts, which gives the entire UI a clean and modern look. The universal selector * is used to reset some default styles across all elements by setting padding and margin to 0, applying box-sizing: border-box to make width and height calculations easier, and assigning the "Poppins" font family to all text.
The body is styled using Flexbox to center the translator box both vertically and horizontally. It takes up a minimum height of 100vh to cover the entire viewport and has a vibrant purple background (rgb(158, 13, 255)), which visually highlights the white translator box in the center.
Next, the main .container class defines the main translator card. It’s set to a fixed width of 600px, padded for spacing, and given a light grey background (#e8e8e8). A soft box shadow and border-radius give it a subtle 3D effect and smooth corners.
Inside the container, .input_box uses Flexbox to display the two textareas side by side and adds a light grey border.
Each textarea takes full width, has no border, and is styled with internal padding, a fixed height of 150px, and disabled resizing to maintain layout integrity. The first textarea (input box) gets a right border using textarea:nth-child(1) to separate it visually from the translation output box.
The .row class below the textareas also uses Flexbox to lay out the two language dropdowns horizontally and applies a top border to blend with the input box above. Each .select is centered within its half of the row using Flexbox again, with margin added for spacing. The select elements themselves have padding, light borders, rounded corners, and inherit the background for a cleaner design.
Finally, the button at the bottom is styled to match the purple theme with a full width, bold white text, and rounded corners. It changes to a slightly darker shade (rgb(137, 0, 229)) on hover, creating a smooth visual interaction thanks to the transition effect on the background.
JavaScript Code:
The JavaScript functionality begins by selecting key elements from the HTML using document.querySelector. These include all <select> elements using selectCountry, the Translate button, and both textareas (fromText for input and toText for output). The goal is to create a dynamic translator that updates based on the user’s input and selected languages.
Next, a for...of loop iterates through each <select> element (i.e., both language dropdowns). Inside this loop, another loop runs through the countries object (which is defined in the external country.js file).
For every country code and name, a new <option> element is created and added to the respective <select>. This dynamic approach makes it easy to manage the language list centrally through the countries object. Additionally, default selections are set — English (en-GB) for the “from” dropdown and Hindi (hi-IN) for the “to” dropdown — using conditional logic and the selected attribute.
The most important part of the script is the event listener attached to the Translate button. When the button is clicked, it first checks whether any input text has been entered. If so, it captures the user-entered text, the selected source language, and the selected target language. Using this data, a GET request URL is constructed with the help of MyMemory Translation API, following the format: https://api.mymemory.translated.net/get?q=...&langpair=from|to.
Note: My memory api is free and may have some translation error and can’t provide a 100% accurate output.
Using the Fetch API, the request is sent asynchronously, and once the response is received and converted into JSON, the translated text is extracted from the responseData.translatedText field of the returned data object.
This translated text is then displayed inside the second textarea (toText.value), allowing users to immediately see the result of their translation request.
This JavaScript code demonstrates how to integrate an external API, dynamically populate UI components, and use asynchronous programming in real-world projects — making it both practical and beginner-friendly.
Source Code:
Download “Translator-App.7z” Translator-App.7z – Downloaded 522 times – 2.46 KB
Conclusions:
In this project, we built a simple and functional language translator using Html, CSS, and JavaScript. We dynamically populated language options using a country list, styled the UI for a clean and modern look, and integrated the MyMemory Translation API to translate text in real-time. This project is a great example of how to combine frontend skills with external APIs to create useful, interactive web applications.