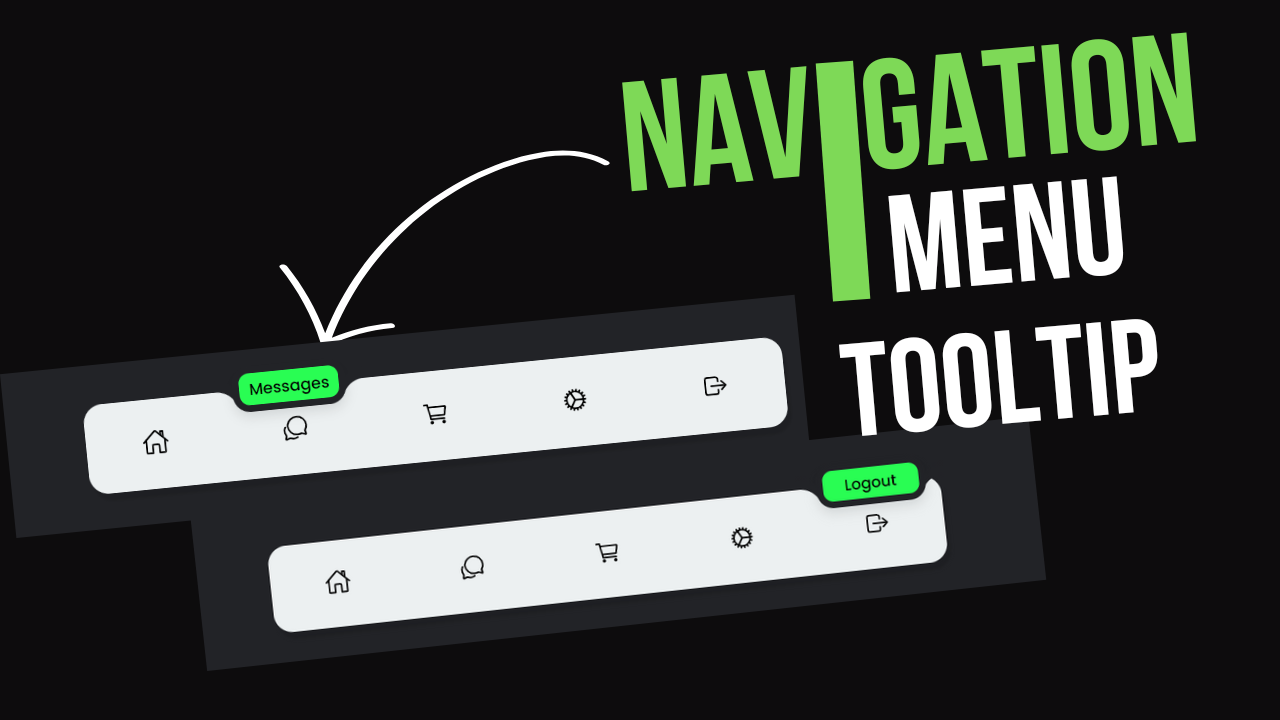
Project Preview
Folder Structure:
- First we will need to setup our project folders where we are going to work
- Then create files index.html and style.css and then link style.css file with index.html file
Introduction:
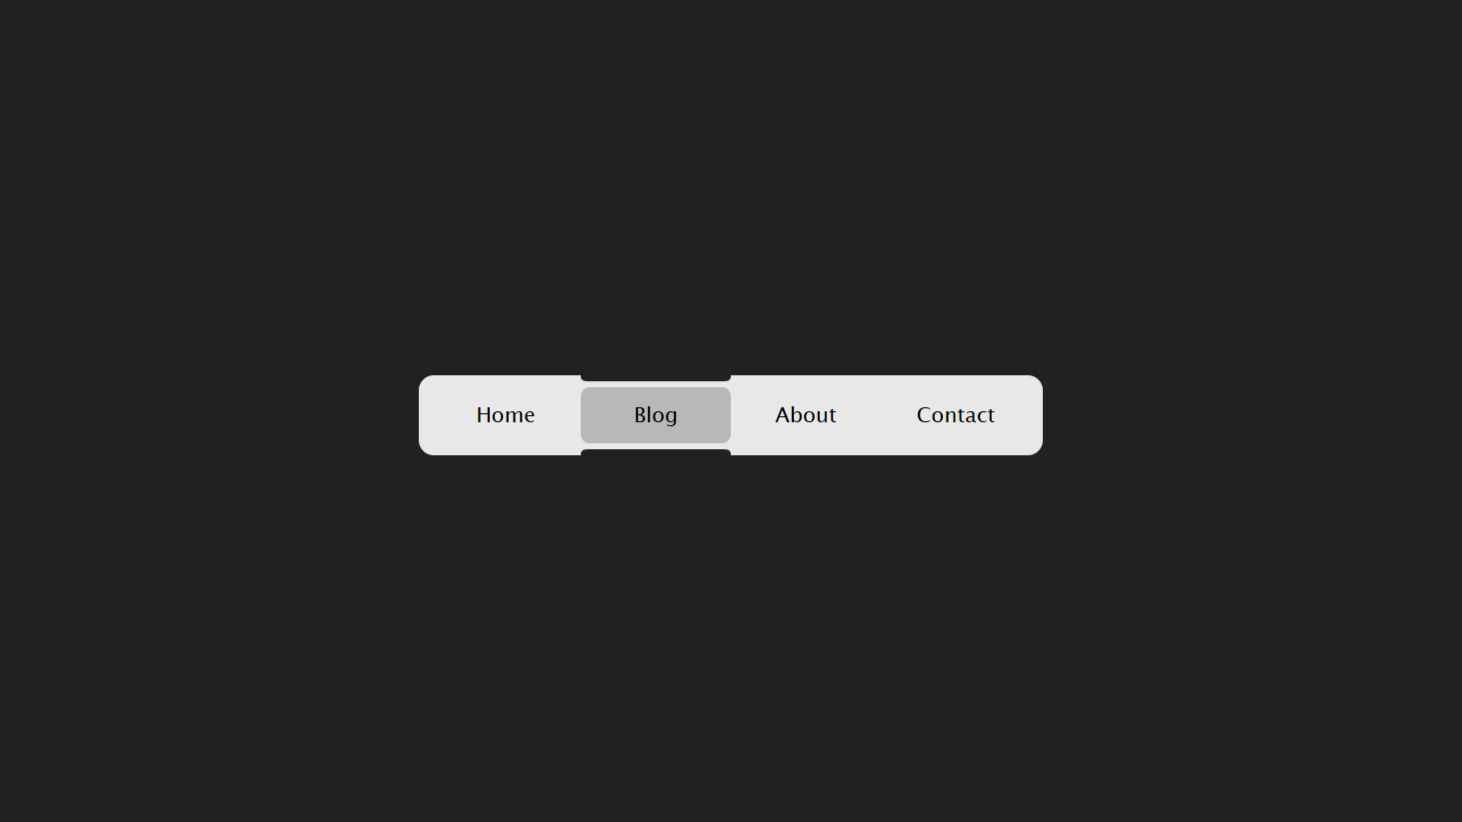
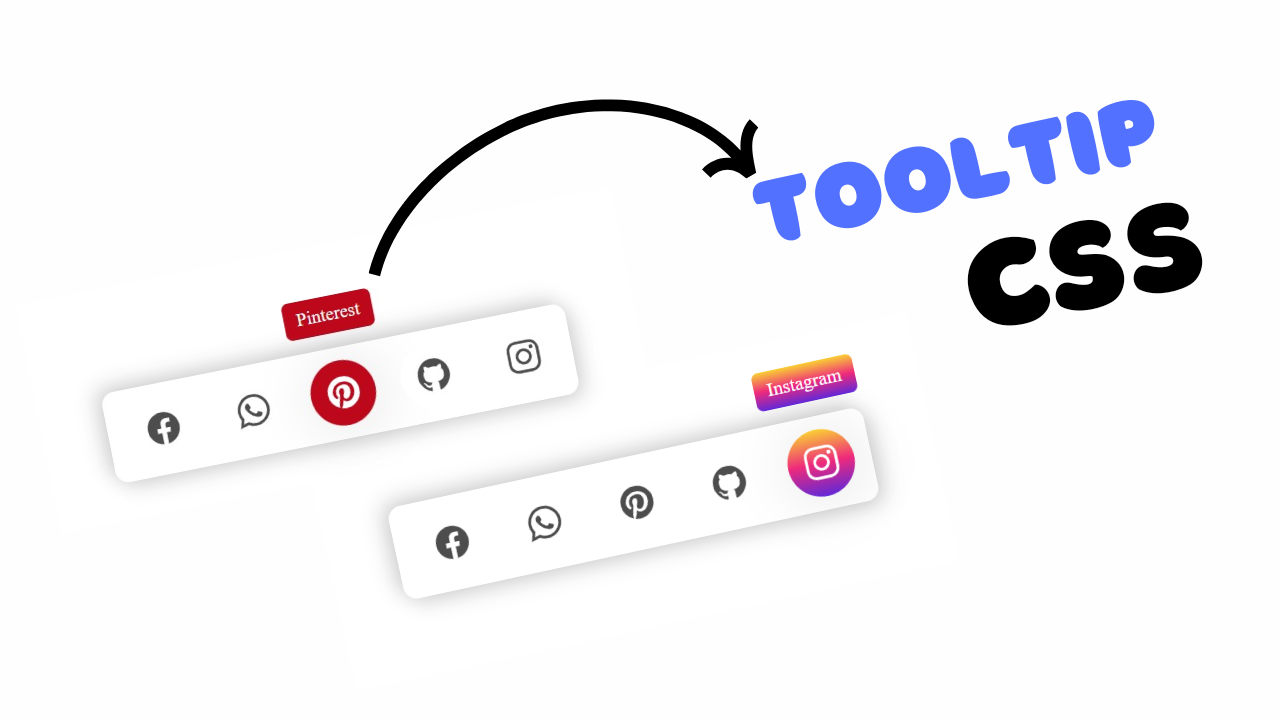
This project involves creating a simple navigation bar with tooltips using HTML and CSS. The design features a navigation menu with icons that display tooltips when hovered over. The layout is responsive, adjusting the size and positioning of elements for tablet and mobile viewports.
HTML Code:
...
<!DOCTYPE html>
<html lang="en">

<head>
    <meta charset="UTF-8">
    <meta name="viewport" content="width=device-width, initial-scale=1.0">
    <meta http-equiv="X-UA-Compatible" content="ie=edge">
    <title>Simple Navigation Bar with Tooltip using Html and CSS</title>
    <link rel="stylesheet" href="style.css">
</head>

<body>
    <div class="wrapper">
        <ul>
            <li>
                <a href="">
                    <ion-icon name="home-outline"></ion-icon>
                </a>
                <span class="tooltip">Home</span>
            </li>
            <li>
                <a href="">
                    <ion-icon name="chatbubbles-outline"></ion-icon>
                </a>
                <span class="tooltip">Messages</span>
            </li>
            <li>
                <a href="">
                    <ion-icon name="cart-outline"></ion-icon>
                </a>
                <span class="tooltip">Order</span>
            </li>
            <li>
                <a href="">
                    <ion-icon name="cog-outline"></ion-icon>
                </a>
                <span class="tooltip">Settings</span>
            </li>
            <li>
                <a href="">
                    <ion-icon name="log-out-outline"></ion-icon>
                </a>
                <span class="tooltip">logout</span>
            </li>
        </ul>
    </div>
    <script type="module" src="https://unpkg.com/ionicons@7.1.0/dist/ionicons/ionicons.esm.js"></script>
    <script nomodule src="https://unpkg.com/ionicons@7.1.0/dist/ionicons/ionicons.js"></script>
</body>

</html>
...
Explanation:
The HTML code creates a simple navigation bar with tooltips using HTML and CSS. The structure consists of a div element with a class of wrapper, which serves as the container for the navigation bar. Inside the wrapper, there is an unordered list (ul) that contains five list items (li), each representing a navigation link.
Each list item includes an anchor tag (a) that wraps around an Ionicons icon, providing the visual representation of the navigation options.
Below each icon, there’s a span element with a class of tooltip that displays descriptive text when the user hovers over the corresponding icon.
The script tags at the bottom of the body section load the Ionicons library to render the icons correctly. The entire structure is designed to be responsive, with tooltips enhancing the user interface by providing additional information about each navigation option.
CSS Code:
...
@import url('https://fonts.googleapis.com/css2?family=Poppins:wght@400;500;600&display=swap');

* {
    padding: 0;
    margin: 0;
    box-sizing: border-box;
    font-family: "Poppins", sans-serif;
}

html,
body {
    display: grid;
    height: 100%;
    place-items: center;
    background: #222327;
    overflow-x: hidden;
}

.wrapper {
    position: relative;
    height: 80px;
    width: 620px;
    background-color: #ecf0f1;
    border-radius: 17px;
    box-shadow: 3px 7px 2px rgba(0, 0, 0, 0.1);
}

.wrapper ul {
    display: flex;
    justify-content: space-between;
}

.wrapper ul li {
    position: relative;
    list-style: none;
    line-height: 85px;
    display: flex;
    justify-content: center;
    align-items: center;
    text-align: center;
}

.tooltip {
    position: absolute;
    left: 0;
    top: -20px;
    height: 40px;
    width: 100px;
    background: #29fd53;
    border-radius: 15px;
    text-align: center;
    line-height: 30px;
    font-size: 14px;
    color: #000;
    font-weight: 500;
    pointer-events: none;
    margin: 0 10px;
    transition: 0.5s;
    border: 6px solid #000;
    opacity: 0;
}

.tooltip::before {
    content: "";
    position: absolute;
    top: 50%;
    left: -22px;
    width: 20px;
    height: 20px;
    background: transparent;
    border-top-right-radius: 20px;
    box-shadow: 0 -10px 0 0 #222327;
}

.tooltip::after {
    content: "";
    position: absolute;
    top: 50%;
    right: -22px;
    width: 20px;
    height: 20px;
    background: transparent;
    border-top-left-radius: 20px;
    box-shadow: 0 -10px 0 0 #222327;
}

.wrapper ul li:hover .tooltip {
    transition: all 0.3s ease;
    opacity: 1;
}

.wrapper ul li a {
    display: block;
    color: #000;
    font-size: 1.5em;
    margin: 0 50px;
}


@media (max-width: 768px) {
    .wrapper {
        height: 60px;
        width: 465px;
        border-radius: 12.75px;
        box-shadow: 2.25px 5.25px 1.5px rgba(0, 0, 0, 0.1);
    }

    .wrapper ul li {
        line-height: 65px;
    }

    .wrapper ul {
        padding: 0;
    }

    .wrapper ul li a {
        font-size: 1.125em;
        margin: 0 37.5px;
    }

    .tooltip {
        height: 30px;
        width: 75px;
        line-height: 22.5px;
        font-size: 10.5px;
        margin: 0 7.5px;
        border: 4.5px solid #000;
    }

    .tooltip::before,
    .tooltip::after {
        opacity: 0;
    }
}


@media (max-width: 480px) {
    .wrapper {
        height: 48px;
        width: 372px;
        border-radius: 10.2px;
        box-shadow: 1.8px 4.2px 1.2px rgba(0, 0, 0, 0.1);
    }

    .wrapper ul li a {
        font-size: 0.9em;
        margin: 0 30px;
    }

    .wrapper ul {
        padding: 0;
    }

    .wrapper ul li {
        line-height: 52px;
    }

    .tooltip {
        height: 24px;
        width: 60px;
        top: -15px;
        line-height: 18px;
        font-size: 8.4px;
        border: 3.6px solid #000;
    }

    .tooltip::before,
    .tooltip::after {
        opacity: 0;
    }
}

..
Explanation:
The CSS code styles a responsive navigation bar with tooltips, using a clean, modern design. It begins by importing the “Poppins” font from Google Fonts and setting a universal selector (`*`) to remove all padding and margins while applying `box-sizing: border-box` to ensure consistent element sizing.
The `html` and `body` are styled to center the content using CSS Grid, with a dark background color (`#222327`) and hidden overflow to prevent horizontal scrolling.
The `.wrapper` class defines the container for the navigation bar, with specific dimensions (80px height, 620px width), a light background color (`#ecf0f1`), rounded corners (`border-radius: 17px`), and a subtle box shadow for depth. Inside the wrapper, the `ul` list is styled with `display: flex` to arrange the `li` items horizontally and space them evenly using `justify-content: space-between`.
Each list item (`li`) is centered vertically and horizontally using `display: flex` and `align-items: center`, with a set line height of 85px to align the text with the icons.
The tooltip (`.tooltip`) is absolutely positioned above the icons, with a fixed height and width, a green background color (`#29fd53`), rounded corners, and a border for emphasis. The text inside the tooltip is centered with a line height that matches the tooltip height for vertical centering, and the font size is set to 14px.
The `::before` and `::after` pseudo-elements of the tooltip create custom shapes that add visual flair to the tooltip, with rounded corners (`border-top-right-radius` and `border-top-left-radius`) and shadows to blend them into the design.
These pseudo-elements are hidden by default and only become visible when the parent list item is hovered over (`.wrapper ul li:hover .tooltip`).
For responsiveness, media queries are used to adjust the size of the wrapper, font sizes, and tooltips at different screen widths.
Source Code:
Download “Navigation-Tooltip.zip” Navigation-Tooltip.zip – Downloaded 226 times – 1.60 KB
Conclusions:
In this project, we created a responsive navigation bar with tooltips using HTML and CSS. We ensured that the design is visually appealing and functional across different devices by applying media queries to adjust the layout for tablet and mobile viewports. The tooltip feature enhances user interaction by providing descriptive labels for each navigation icon. We also customized the appearance of tooltips, including their position, size, and animations. Overall, this project demonstrates how to build a clean, responsive UI component with scalable and interactive elements.
