project preview
Folder Structure:
To start our project first we need to create folder and files for our projects
- First create a folder and name it like cubicBoxAnimation or etc you want to give.
- Then create another inside it for images and place images that you want to add in project.
- Then create files index.html and style.css and link the style.css with index.html file.
Introduction:
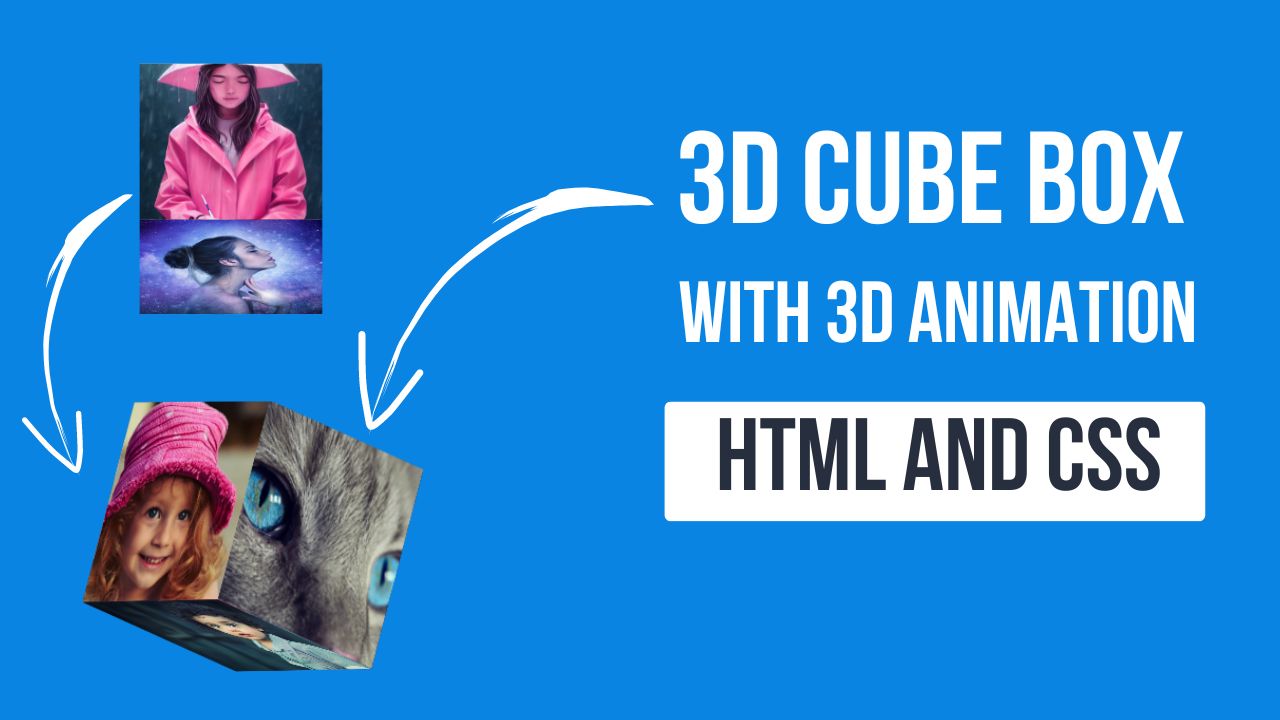
In this project, we will build a stunning 3d cube box animation using HTML and CSS. The animation will feature a rotating cube with six distinct faces, each displaying a different image. As the cube rotates, the faces transition smoothly, creating a captivating 3D effect that enhances the visual appeal of your webpage.
HTML Code:
...
<!DOCTYPE html>
<html lang="en">

<head>
  <meta charset="UTF-8">
  <meta name="viewport" content="width=device-width, initial-scale=1.0">
  <meta http-equiv="X-UA-Compatible" content="ie=edge">
  <!-- External CSS File Link -->
  <link rel="stylesheet" href="style.css">
  <title>CSS Cubic Box Animation</title>
</head>

<body>
  <!-- Container for the cubic box -->
  <div class="wrapper">
    <div class="box">
      <!-- Six faces of the cubic box -->
      <div class="box1"></div>
      <div class="box2"></div>
      <div class="box3"></div>
      <div class="box4"></div>
      <div class="box5"></div>
      <div class="box6"></div>
    </div>
  </div>
</body>

</html>

...
Explanation:
The HTML code provided sets up a webpage to display a rotating 3D cube, leveraging the structure and semantic elements of HTML to define and organize the cube’s components. It begins with the `<!DOCTYPE html>` followed by the opening `<html>`. Inside the `<head>` section, several meta tags are included. The `<link>` tag connects an external CSS file (`style.css`) to style the HTML elements.
Within the `<body>`, there is a `div` element with the class `wrapper`, which acts as a container for the cube, centering it on the page. Inside this wrapper is another `div` with the class `box`, representing the cube itself. This `box` div contains six child `div` elements (`box1` to `box6`), each corresponding to a face of the cube. These faces are visually distinct due to their class names and will be styled individually using CSS to apply different images and transformations. This HTML structure lays out the foundation for the 3D effect, with each `div` representing a separate surface of the cube that will be manipulated in 3D space through CSS. By structuring the elements in this hierarchical manner, the HTML code sets the stage for the CSS to apply the necessary animations and transformations to create a dynamic 3D rotating cube effect.
CSS Code:
...

/* Reset default styles for all elements */
* {
  padding: 0;
  margin: 0;
  box-sizing: border-box;
}

/* Apply styles to the HTML and body elements */
html,
body {
  display: grid;
  height: 100%;
  place-items: center;
  background: #0984e3;
}

/* Styling for the container of the cubic box */
.wrapper {
  width: 200px;
  height: 200px;
}

/* Keyframes for the 'animate' animation */
.box {
  animation: animate 10s ease-in-out infinite;
  transform-origin: 100px 100px 0;
  transform-style: preserve-3d;
}

/* Styling for each face (div) within the cubic box */
@keyframes animate {

  from,
  to {
    transform: rotateX(0deg) rotateY(0deg) rotateZ(0deg);
  }

  16% {
    transform: rotateY(-90deg);
  }

  33% {
    transform: rotateY(-90deg) rotateZ(90deg);
  }

  50% {
    transform: rotateY(-180deg) rotateZ(90deg);
  }

  66% {
    transform: rotateY(-270deg) rotateX(90deg);
  }

  83% {
    transform: rotateX(90deg);
  }
}

/* Styling for each face (div) within the cubic box */
.box div {
  position: absolute;
  width: 200px;
  height: 200px;
  line-height: 200px;
}

/* Styling for individual faces (box1 to box6) */
.box .box1 {
  background-image: url("images/mount01.jpg");
  background-size: cover;
  background-position: center center;
  transform: translateZ(100px);
}

.box .box2 {
  background-image: url("images/blue01.jpg");
  background-size: cover;
  background-position: center center;
  transform: rotateY(90deg) translateZ(100px);
}

.box .box3 {
  background-image: url("images/pink01.jpg");
  background-size: cover;
  background-position: center center;
  transform: rotateY(90deg) rotateX(90deg) translateZ(100px);
}

.box .box4 {
  background-image: url("images/child.jpg");
  background-size: cover;
  background-position: center center;
  transform: rotateY(180deg) rotateZ(90deg) translateZ(100px);
}

.box .box5 {
  background-image: url("images/Pink07.jpg");
  background-size: cover;
  background-position: center center;
  transform: rotateY(-90deg) rotateZ(90deg) translateZ(100px);
}

.box .box6 {
  background-image: url("images/Rose01.jpg");
  background-size: cover;
  background-position: center center;
  transform: rotateX(-90deg) translateZ(100px);
}
...
Explanation:
The CSS code defines the styles and animations necessary to create the 3D rotating cube effect on the webpage. It starts with a universal selector (`*`) to reset all elements’ default padding and margin to zero and set `box-sizing` to `border-box`, ensuring consistent sizing across elements by including padding and border in the element’s total width and height. The `html` and `body` selectors use CSS Grid to center the content both vertically and horizontally on the page, with a blue background color (`#0984e3`) providing a contrasting canvas for the cube animation.
The `.wrapper` class defines the width and height of the container for the cube, ensuring that the cube is correctly sized at 200px by 200px. The `.box` class applies 3D transformation settings to the cube itself: `transform-origin` is set to the cube’s center (100px, 100px), and `transform-style` is set to `preserve-3d`, allowing its child elements (the faces of the cube) to be positioned in 3D space. An animation named `animate` is assigned to the `.box` class, which will continuously rotate the cube with a 10-second duration (`10s`), ease-in-out timing function for smooth acceleration and deceleration, and infinite repetition.
The `@keyframes` rule defines the keyframe animation named `animate`, which specifies a series of transformations that the cube will undergo over time. The `from` and `to` keyframes set the initial and final states with no rotation (`rotateX(0deg) rotateY(0deg) rotateZ(0deg)`), while intermediate keyframes at 16%, 33%, 50%, 66%, and 83% incrementally rotate the cube along the X, Y, and Z axes, creating a continuous, smooth rotational effect.
The `.box div` selector styles each face of the cube, positioning them absolutely within the cube container and ensuring they are all sized correctly (200px by 200px) and aligned by centering the text vertically using `line-height`. Individual `.box1` to `.box6` selectors apply different background images to each face of the cube using `background-image`, setting `background-size` to `cover` to ensure the images fill each face, and `background-position` to `center` for consistent centering. Each face is also positioned in 3D space using various `transform` properties with `translateZ` to move each face out from the center along the Z-axis, and additional `rotate` properties to orient the faces around the Y, X, and Z axes as needed. This combination of CSS properties creates the effect of a fully three-dimensional, rotating cube, with each face displaying a different image that smoothly transitions as the cube rotates.
Source Code:
Download “Cubic-Box-Animation.zip” Cubic-Box-Animation.zip – Downloaded 134 times – 16.49 MB
Conclusions:
In this project, we successfully created a 3D Cube Box Animation using HTML and CSS, demonstrating how to leverage CSS animations and 3D transformations to achieve a dynamic visual effect. We structured the HTML to define the cube and its faces, then used CSS to apply styles, position the cube in 3D space, and animate its rotation. The keyframes defined in the CSS allowed us to control the cube’s movement, creating a smooth, continuous animation.

